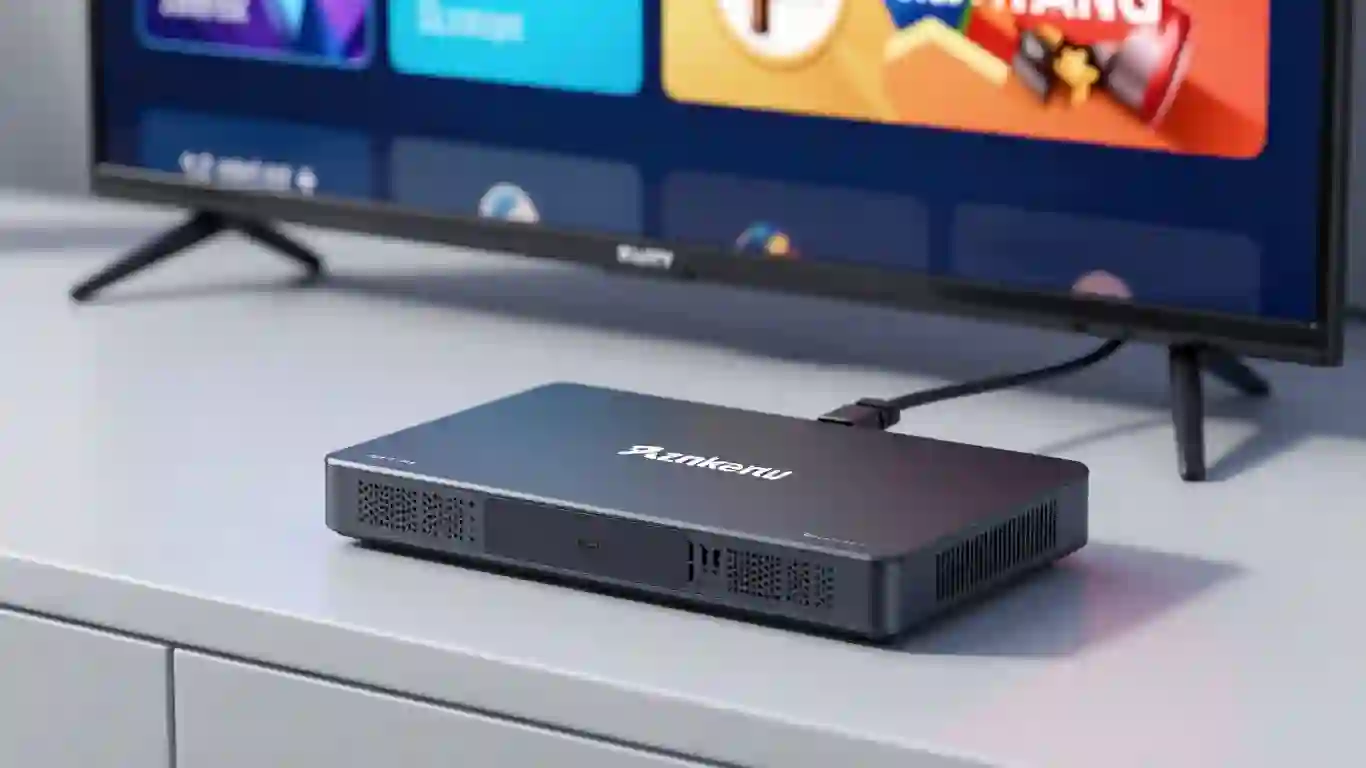
So, you’ve heard about Stbemu and maybe even seen some code Stbemu floating around. It’s basically a way to get your IPTV channels working on different devices by making them think they’re a specific type of set-top box, like a MAG box. It’s not super complicated, but it does need a bit of setup. This guide will walk you through what you need to know to get it up and running, from understanding the basics to actually getting it to work.
Understanding Stbemu Codes
What is STBEmu Pro?
So, you’ve heard about STBEmu and maybe STBEmu Pro, and you’re wondering what the fuss is all about. Basically, STBEmu is an app that pretends to be a specific type of set-top box, like a MAG box. These boxes are what let you stream TV over the internet, often called IPTV. Think of STBEmu as a way to get that IPTV service working on devices where it might not normally run, like your FireStick or Android TV box.
STBEmu vs. STBEmu Pro
There are two versions of this app, and the main difference is pretty straightforward. The regular STBEmu app is free, but it comes with ads. If you want to get rid of those ads and have a smoother experience, there’s STBEmu Pro. It costs a small fee, usually around $5.49, and it’s ad-free. Both versions do the same core job of emulating a set-top box, but Pro just gives you a cleaner interface.
Key Features of STBEmu
This app isn’t like other IPTV players that just take a simple playlist file. STBEmu is designed to work with specific IPTV portals. You need to know the portal URL and your unique MAC address to get it set up. It’s not really for beginners because it requires a bit of technical know-how to configure correctly. If you get it right, though, it can be a solid way to watch your IPTV subscription.
Here’s a quick rundown of what you need:
-
Portal URL: This is the web address for your IPTV service.
-
MAC Address: A unique identifier for your device, which your IPTV provider uses to grant access.
-
IPTV Subscription: You need an active subscription from an IPTV provider to actually watch anything.
Remember, STBEmu itself doesn’t provide any content. It’s just the tool that lets you access content from your chosen IPTV provider. Make sure you have a valid subscription before you start configuring the app.
Essential Components for Stbemu
So, you’ve got STBEmu fired up, but what actually makes it work? It’s not just magic, you know. There are a few key pieces you need to have in place for your IPTV streams to start flowing. Think of it like building with LEGOs; you need the right bricks.
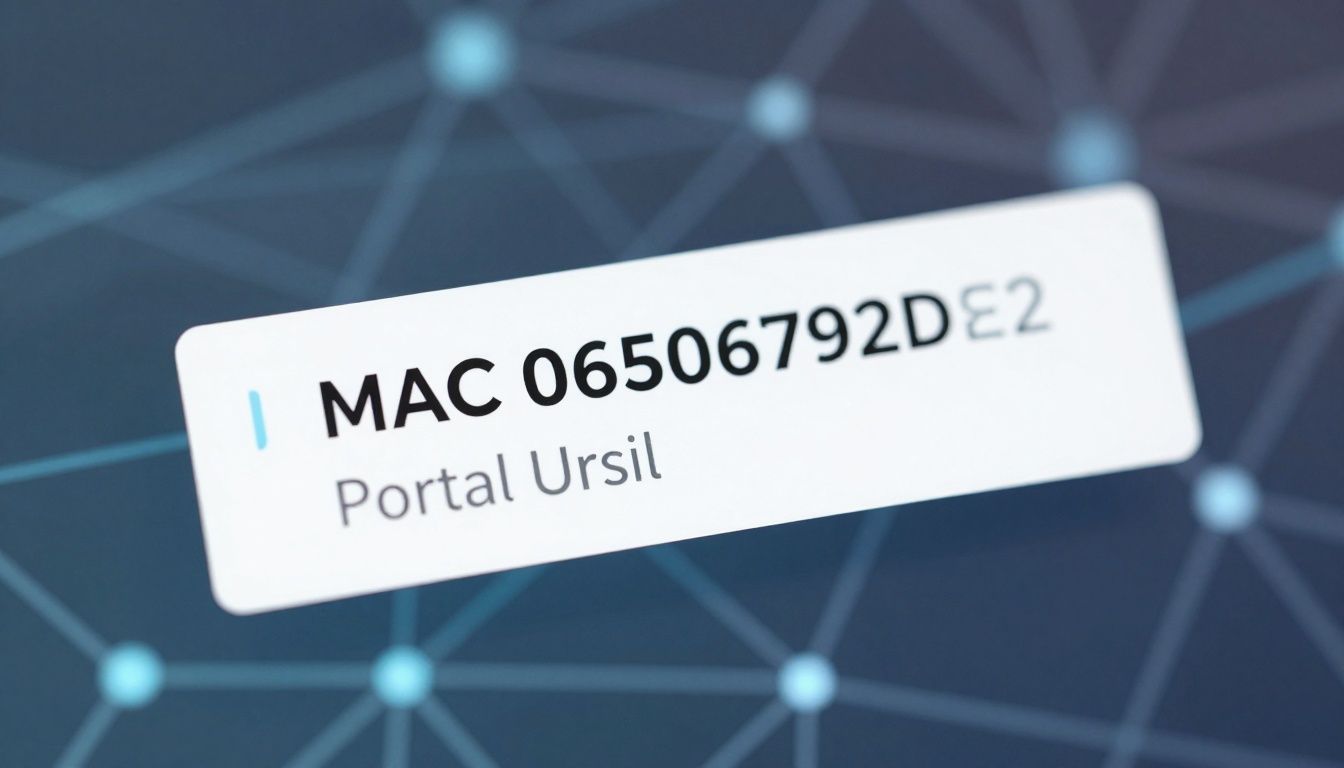
The Role of the MAC Address
First up, the MAC address. This is like your device’s unique fingerprint for the IPTV service. It’s a hardware identifier, and your provider uses it to know which subscription belongs to you. Without the correct MAC address, the server just won’t let you in. It’s pretty straightforward, really. You’ll usually get this from your IPTV provider when you sign up. Sometimes, you might be able to reuse one from an old box, but it’s best to check with your provider.
Navigating Portal URLs
Next, we have the Portal URL. This is basically the web address that points STBEmu to your IPTV provider’s server. It’s where the app goes to find all the channel lists, VOD (Video On Demand) libraries, and other goodies your subscription offers. Getting this URL right is super important. If it’s misspelled or outdated, STBEmu won’t be able to connect, and you’ll be staring at a blank screen. Your provider will give you this link, and you’ll need to type it into the app’s settings. It’s often a long string of text, so double-checking is a good idea. You can find some active portal URLs if you search around online, but always be cautious about where you get them from.
IPTV Subscription Requirements
Finally, and this is a big one, you need an actual IPTV subscription. STBEmu is just an emulator; it doesn’t come with any channels or content itself. It’s like a fancy remote control that needs a TV to work. You’ll need to subscribe to an IPTV service separately. These services provide the streams that STBEmu will then display. When you sign up for an IPTV service, they’ll typically give you the MAC address and the Portal URL you need to configure STBEmu. It’s a package deal, really. Make sure you’re getting your subscription from a reputable provider to avoid issues down the line.
Here’s a quick rundown of what you’ll need:
-
MAC Address: Your unique identifier for the service.
-
Portal URL: The web address for your IPTV provider’s server.
-
Active IPTV Subscription: The actual service that provides the content.
Getting these three components sorted is the main hurdle. Once you have them, setting up STBEmu becomes much simpler. It’s all about having the right credentials to access your chosen IPTV service.
Configuring Your Stbemu Setup
Alright, let’s get your Stbemu up and running. This part is all about the initial setup, getting those details plugged in so you can start streaming. It might seem a bit technical at first, but we’ll break it down step-by-step. This is your basic iptv emulator setup.
Initial Application Configuration
When you first launch the Stbemu application, you’ll likely see a screen asking you to ‘Configure application’. This is your starting point. Don’t worry if it looks a little bare; we’re about to fill it in. This initial configuration is key to making everything else work smoothly.
Setting Up Profiles and Portal Details
Inside the application settings, you’ll find a section for ‘Profiles’. It’s a good idea to name your profile after your IPTV provider – makes things easier to remember later. After that, you’ll move on to ‘Portal Settings’. This is where the magic happens. You’ll need to enter the ‘Portal URL’ that your IPTV provider gave you. This URL is like the address to your streaming service’s server.
Entering Your Unique MAC Address
Next up is the MAC address. This is a unique identifier for your device, and your IPTV provider will use it to authenticate your subscription. You’ll find a spot in the Stbemu settings to enter this. Sometimes, you can find this MAC address on another device you’re using, or your provider might give you one directly. Make sure you type it in exactly as provided.
Here’s a quick rundown of what you’ll typically need:
-
Portal URL: The web address for your IPTV service.
-
MAC Address: Your device’s unique identifier for authentication.
-
Profile Name: A label for your IPTV service setup.
Remember, getting these details right is super important. Double-check everything before you save and exit. A small typo can stop your whole setup from working.
Once you’ve entered all the necessary information, you’ll usually exit the settings menu. The application might take a moment to load the new settings, and then you should be ready to go. If you’re using Stbemu Pro, these steps are pretty much the same for stbemu pro settings.
Optimizing Your Stbemu Experience
So, you’ve got STBEmu up and running, but maybe it’s not quite hitting the mark. Don’t worry, a few tweaks can make a big difference in how smoothly everything plays. It’s all about getting the settings just right for your setup.
Selecting the Right STB Model
STBEmu is designed to mimic different set-top boxes, and picking the right one is key. Most IPTV providers work well with the MAG 254 model, as it’s pretty widely compatible. However, your provider might recommend a specific model, like the MAG 250, 270, or 322, to get the best performance. It’s worth checking with them if you’re unsure. Getting this wrong can sometimes lead to playback issues or channels not loading correctly.
Screen Resolution Settings
This one’s pretty straightforward. For most TVs, setting the screen resolution to ‘Auto’ is the way to go. The app will then try to match your TV’s native resolution. If you know your TV’s exact resolution and want to set it manually, you can, but ‘Auto’ usually handles it without any fuss. Getting the resolution right prevents stretched or squashed images.
Troubleshooting Common Issues
Sometimes, things just don’t work as expected. If you’re experiencing buffering, it might be your internet connection. You can check your speed or even try using a VPN to see if that helps stabilize your stream. Sometimes, simply restarting the app or your device can clear up temporary glitches. If problems persist, double-checking your portal URL and MAC address in the settings is a good next step. Remember, incorrect configuration is often the culprit.
A stable internet connection is the backbone of a good IPTV experience. If you’re constantly battling buffering, it’s the first place to look. Consider optimizing your network or even looking into a different IPTV provider if your current one is consistently slow.
Advanced Stbemu Usage
Emulating MAG Box Versions
STBEmu is designed to mimic the behavior of MAG boxes, which are popular for IPTV streaming. The app can emulate specific MAG box models like the MAG 250, MAG 270, and MAG 322. This emulation allows you to use your IPTV subscription with a familiar interface, even if you’re not using a physical MAG box. It’s like having a virtual set-top box on your streaming device.
Benefits of the Pro Version
While the free version of STBEmu works, the Pro version offers a cleaner experience. For a one-time fee, you get rid of ads, which can be pretty distracting. It also unlocks the full potential of the app without interruptions. If you plan on using STBEmu regularly, the Pro version is a good investment for a smoother stream.
Using STBEmu on FireStick
FireStick is a common platform for STBEmu. You can install STBEmu Pro directly onto your FireStick. Once installed, you’ll need to configure it with your IPTV provider’s details, including the Stbemu portal URL and your device’s MAC address. It’s a straightforward process, but getting the details right is key.
Here’s a quick rundown of what you’ll need:
-
An active IPTV subscription.
-
Your subscription’s Stbemu portal URL.
-
Your device’s MAC address (often found in the app’s settings or your device’s network info).
-
The STBEmu app installed on your FireStick.
Setting up STBEmu on a FireStick involves entering specific details provided by your IPTV service. Make sure you have these details handy before you start the configuration process to avoid any hiccups.
Finding Active Portal URLs
Finding a working Stbemu portal URL can sometimes be tricky. These URLs are provided by your IPTV service provider. If you’re unsure, check with your provider directly. Sometimes, these URLs can change, so it’s good practice to confirm with your provider periodically. You might find lists of potential portal URLs online, but always verify their legitimacy and ensure they are from your actual service provider.
Accessing Stbemu Codes

Alright, so you’ve got STBEmu fired up and ready to go, but how do you actually get channels to show up? That’s where these ‘codes’ come in, though it’s more about the specific details your IPTV provider gives you. Think of it like needing a key to get into a club – these codes are your keys.
Finding Active Portal URLs
This is probably the most important piece of the puzzle. Your IPTV provider will give you a specific web address, called a Portal URL. This is what STBEmu connects to in order to find all the channels and content. You can’t just guess these; you need the exact one from your service. Sometimes, you might find lists of these online, but be careful, as they can expire or be for different services. It’s always best to get this directly from your IPTV provider. These are the keys to accessing STBemu channels.
Understanding Server Timezones
Why does the timezone matter? Well, it helps keep things in sync, especially with live TV schedules and program guides (EPG). If your STBEmu setup thinks it’s daytime but the server is in a timezone where it’s nighttime, your guide might be all messed up. Most providers will tell you the timezone their server uses, and you can usually set this in the STBEmu app’s settings. It’s not usually a deal-breaker if it’s slightly off, but getting it right makes the experience smoother.
MAC Address Authentication
This is a big one. Your MAC address is like a unique serial number for your device, and IPTV providers use it to know who’s allowed to connect. It’s a security measure. When you set up STBEmu, you’ll need to enter the MAC address that your IPTV provider has registered for your account. If you don’t have one, your provider might give you one, or you might be able to use a generic one if they allow it. Without the correct MAC address, you won’t be able to stream anything. It’s a pretty common point of confusion, so double-check that you’ve entered it exactly as provided. Some people look for these codes online, but remember that the MAC address is usually tied to your subscription, so a random one might not work. Finding the best IPTV player codes often comes down to having the right subscription details. If you’re having trouble, checking out resources on STBemu and Stalker Portals might help find active portal URLs.
It’s also worth noting that while you might see references to “Stbemu remote control codes,” these aren’t typically needed for the app itself. The app usually works with your device’s remote or a connected controller. The “codes” we’re talking about here are the portal URL and MAC address.
Wrapping It Up
So, that’s the lowdown on STBemu codes. It can seem a bit tricky at first, especially if you’re not super techy, but once you get the hang of the portal URL and MAC address stuff, it really opens up a world of viewing options. We’ve covered the basics of what it is and how to get it set up. Remember, it’s all about getting that connection right so you can stream what you want. If you run into any snags, just retrace your steps or check back here. Happy streaming!
