So, you’re thinking about getting into IPTV? It’s basically like cable TV, but streamed over the internet. Lots of people are switching because it can be cheaper and give you more options. Setting up your IPTV service might sound tricky, but it’s really not that bad. This guide will walk you through the whole IPTV setup process, from understanding what it is to getting it running on your device. We’ll cover the basics and some tips to make sure you’re watching your favorite shows without any headaches.
Getting Started With Your IPTV Setup
So, you’re looking to jump into the world of IPTV? It’s not as complicated as it might sound, honestly. Think of it as just another way to watch TV, but instead of a cable box, you’re using the internet. This whole process is often called beginner IPTV configuration, and it’s really about getting the right pieces together to make it work.
Understanding What IPTV Is
IPTV stands for Internet Protocol Television. Basically, it’s live TV delivered over the internet. Millions of people have switched from traditional cable or satellite because it can be cheaper and offer a lot more options, like movies, sports, and shows you might not get otherwise. It’s a big part of the cord-cutting movement for a reason. It’s all about flexibility and often, saving money.
Essential Components For IPTV Setup
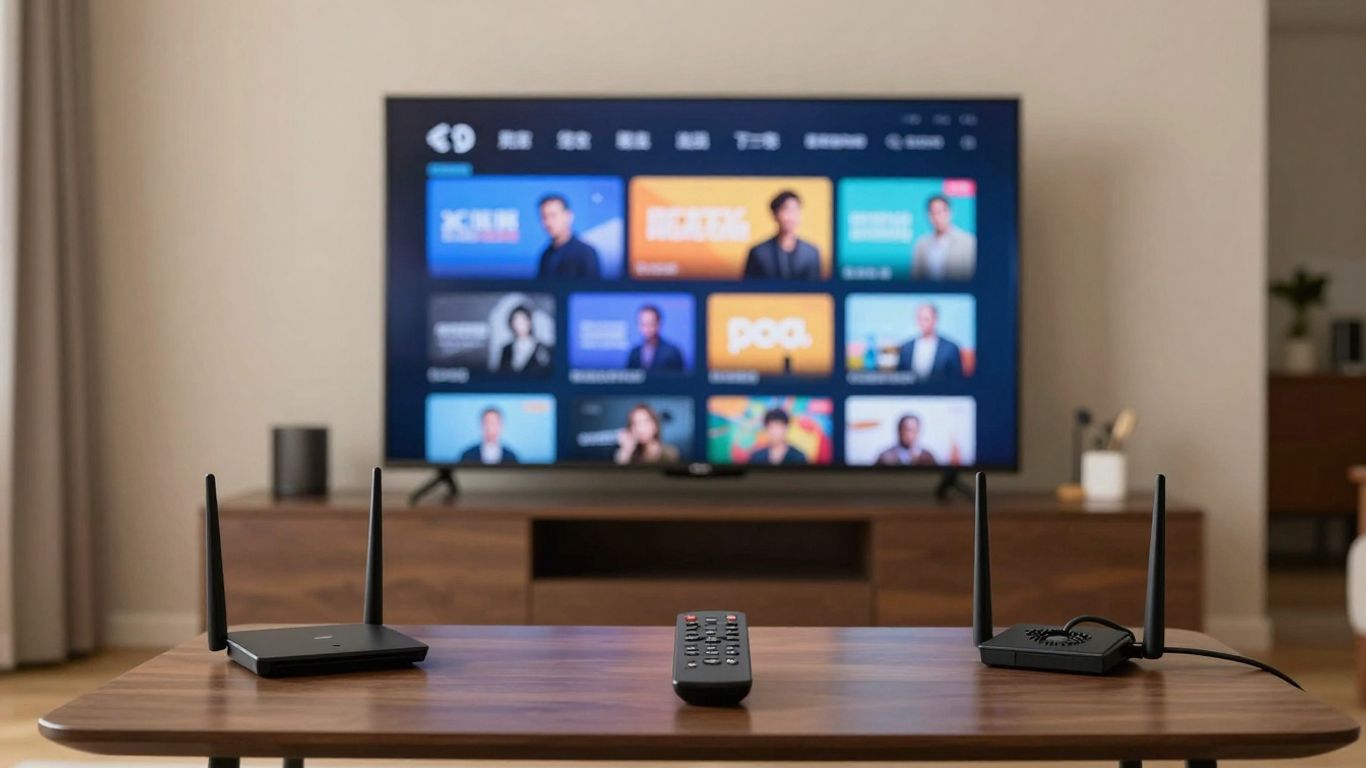
To get started with your IPTV connection steps, you really only need three main things. Don’t overthink it; this is the beginner IPTV guide part.
-
A Stable Internet Connection: This is non-negotiable. Without a good, steady internet connection, your streaming will be choppy, and nobody wants that. Make sure your Wi-Fi is strong or you’re using an Ethernet cable.
-
A Streaming Device: This is what you’ll use to actually watch everything. Think Amazon Fire Stick, an Android TV box, a smart TV, or even a computer or tablet. The key is that it can run the apps you’ll need.
-
An IPTV Service Subscription: This is what gives you access to the channels and content. There are many providers out there, and you’ll need to pick one that suits your needs and budget. This is where you’ll get your login details.
Setting up IPTV on TV doesn’t require a degree in computer science. It’s more about gathering your ingredients and following a few straightforward steps. The goal is to get you watching your favorite shows without a hitch.
Getting started with IPTV is pretty straightforward once you know what you need. This beginner IPTV guide aims to make the whole process clear, even if you’re new to this kind of tech. It’s a bit like setting up any new streaming service, just with a few extra steps for the actual IPTV service itself. We’ll cover the IPTV connection steps and how to get everything running smoothly.
Installing And Configuring Your IPTV Service
So, you’ve got your IPTV service sorted out and you’re ready to start watching. The next step is getting the right app on your device and plugging in your service details. It sounds a bit technical, but honestly, it’s usually pretty straightforward. We’re talking about an easy IPTV installation here, so don’t sweat it.
Choosing And Installing An IPTV Application
First things first, you need an app to actually play your IPTV streams. Some services might have their own custom app, which they’ll usually tell you how to get in their confirmation email. But more often than not, you’ll be using a general IPTV player. The popular ones are usually IPTV Smarters Pro or TiviMate because they’re pretty user-friendly and do the job well.
Here’s a general idea of how to install one:
-
Head to your device’s app store. This could be the Google Play Store on an Android TV box, or the Amazon Appstore if you’re using a Fire Stick.
-
Search for your chosen IPTV player. Type in names like “IPTV Smarters Pro” or “TiviMate”.
-
Check the reviews and ratings. Pick one that looks good and has positive feedback.
-
Install the app. Just hit the install button and let it download.
Remember, some devices, especially Android-based ones like the Fire Stick, might need you to enable ‘Apps from Unknown Sources’ in the settings before you can install certain apps. It’s a security feature, but for IPTV players, you’ll need to switch it on.
Configuring Your IPTV Service On Your Device
Once the app is installed, it’s time to connect your IPTV service. This is where you’ll need the login details or the M3U URL that your IPTV provider sent you. This part is key to actually getting your channels to show up.
Here are the typical IPTV configuration steps:
-
Open the IPTV app you just installed.
-
Look for the option to add a new playlist or user. This might be labeled differently depending on the app.
-
Choose your connection method. Most providers give you an M3U URL, but some might use Xtream Codes API or a login/password combo.
-
Enter your service details. If you’re using an M3U URL, paste it into the correct field. If it’s Xtream Codes, you’ll enter your username, password, and the portal URL.
-
Give your playlist a name (like “My IPTV Channels”).
-
Save or Add the user.
After a short wait, your channels should start loading. This is the moment you’ve been waiting for – your IPTV service is now connected! If it doesn’t work right away, double-check that you’ve entered all the details correctly. Sometimes, a simple typo can cause issues.
Enhancing Your IPTV Experience
So, you’ve got your IPTV service up and running. That’s great! But there’s always a way to make things even better, right? Let’s talk about a few things that can really smooth out your viewing and maybe even add some cool new features.
Utilizing Bonus Features For Better Viewing
Most IPTV apps aren’t just about showing channels. They often come with extra goodies. One really handy feature is the ability to mark channels as favorites. Instead of scrolling through hundreds of channels every time you want to watch your go-to shows, you can just pop over to your favorites list. It’s a simple thing, but it saves a ton of time.
Here’s how you usually do it:
-
Find a channel you like.
-
Press and hold the OK button (or similar) on your remote.
-
Look for an option like “Add to Favorites” or a star icon and select it.
-
Later, you can usually find a “Favorites” section in the app’s menu to see all your picked channels.
Some apps also let you add external video players. This can be useful if you find the default player a bit clunky or if you want more advanced playback options. You might also be able to tweak the user interface or set your preferred video quality. Don’t forget to check if your app supports an Electronic Program Guide (EPG); it’s a game-changer for knowing what’s on.
Troubleshooting Common IPTV Issues
Even with the best setup, sometimes things go wrong. It’s usually not a big deal, and often fixable with a few quick steps. Don’t panic if you hit a snag; most problems are pretty common.
-
Buffering or Freezing: This is often your internet connection acting up. Try restarting your router. If you’re on Wi-Fi, consider moving closer to the router or, even better, using a wired Ethernet connection. You can also try lowering the video quality in your app’s settings. It might also help to close other apps or devices that are hogging your bandwidth.
-
Channels Not Loading: If a specific channel or a whole bunch of them aren’t working, it could be your provider’s end or an outdated playlist. Try refreshing your playlist URL in the app. Check if your provider has a status page or support to see if there’s a known issue.
-
App Crashing: If the app keeps closing unexpectedly, try clearing its cache. Sometimes, a simple device restart does the trick. If all else fails, uninstalling and then reinstalling the app can often fix stubborn glitches. Make sure you’re using the latest version of the app, too.
Keeping your IPTV app updated is a good habit. Developers often release updates to fix bugs, improve performance, and sometimes add new features. It’s a simple step that can prevent a lot of headaches down the line.
If you’re having persistent issues, reaching out to your IPTV provider’s customer support is usually the next best step. They might have specific advice for their service. For a more reliable streaming experience overall, consider looking into a reputable IPTV provider with good reviews for better results.
Wrapping It Up
So there you have it, setting up IPTV might seem a bit much at first, but it’s really not that complicated once you get the hang of it. We’ve gone through the whole process, from getting your internet ready to actually watching something. Remember, a good internet connection is key, and picking a service that fits what you want to watch is important too. Don’t forget about keeping things secure online, that’s a big part of it. Hopefully, this guide made it all a bit clearer and now you’re ready to enjoy a whole new way of watching TV without all the usual cable hassle. Happy streaming!